allen roth FSI 1504 BNIC 2-Pack Brushed Nickel Aluminum Curtain Rod Finials User Guide
- June 13, 2024
- Allen+Roth
Table of Contents
 FSI 1504 BNIC 2-Pack Brushed Nickel
Aluminum Curtain Rod Finials
**User Guide
MODEL #FSI 1504 BNIC
**
ALLEN+ROTH and logo design are trademarks or registered trademarks of LF, LLC.
All rights reserved.
Thank you for purchasing this allen + roth product. We’ve created these easy-
to-follow instructions to ensure you spend your time enjoying the product
instead of putting it together. But, if you need more information than what is
provided here, please visit Lowes.com, search the item
number and refer to the Guides & Documents tab on the product’s page.
If the item is no longer for sale, or if you have any questions or problems,
please call our customer service department at
866-439-9800, 8 a.m. – 8 p.m.,
EST,Monday – Sunday. You could also contact us at
ascs@lowes.com.
PREPARATION
Before beginning assembly of product, make sure all parts are present. Compare
parts with package contents list and hardware contents list.
If any part is missing or damaged, do not attempt to assemble the product.
TOOLS REQUIRED (NOT INCLUDED)
Estimated Assembly Time: 10 minutes

FEELING CONFIDENT? START YOUR NEXT PROJECT
- Visit lowes.com for more information.

CARE AND MAINTENANCE
- Clean with a soft cloth
- Do not use abrasive cleaning agents, solvents or polishes as they may damage the finish.
PACKAGE CONTENTS
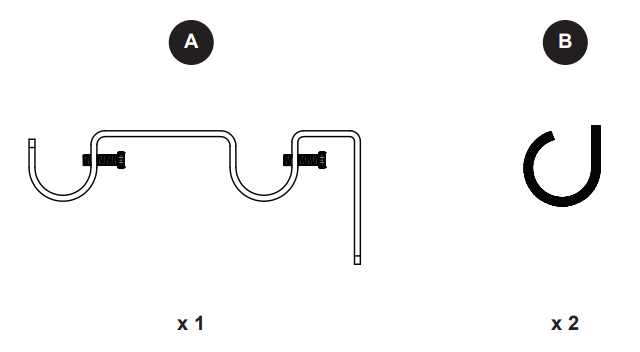
HARDWARE CONTENTS
INSTALLATION OVERVIEW
-
Using bracket as a guide, adjust to desired height and mark location on wall for mounting screws.
-
Remove bracket from wall. Drill pilot hole using 3/16 in.
bit (not included) and insert wall anchors. √ NOTE
Anchors are not needed for all installation types. -
Attach the bracket to the wall using the screws provided. Next adjust the bracket distance out from the wall as desired and tighten with screws provided.
-
Bracket can fit 1-in rods without adaptor
-
Use inserts for the front and back rod channels for rods that are 3/4-in, 5/8-in and 1/2-in.
-
Rod Size Examples

Read User Manual Online (PDF format)
Read User Manual Online (PDF format) >>