YEEHAO DC501L Children Digital Camera User Manual
- May 15, 2024
- YEEHAO
Table of Contents
YEEHAO DC501L Children Digital Camera
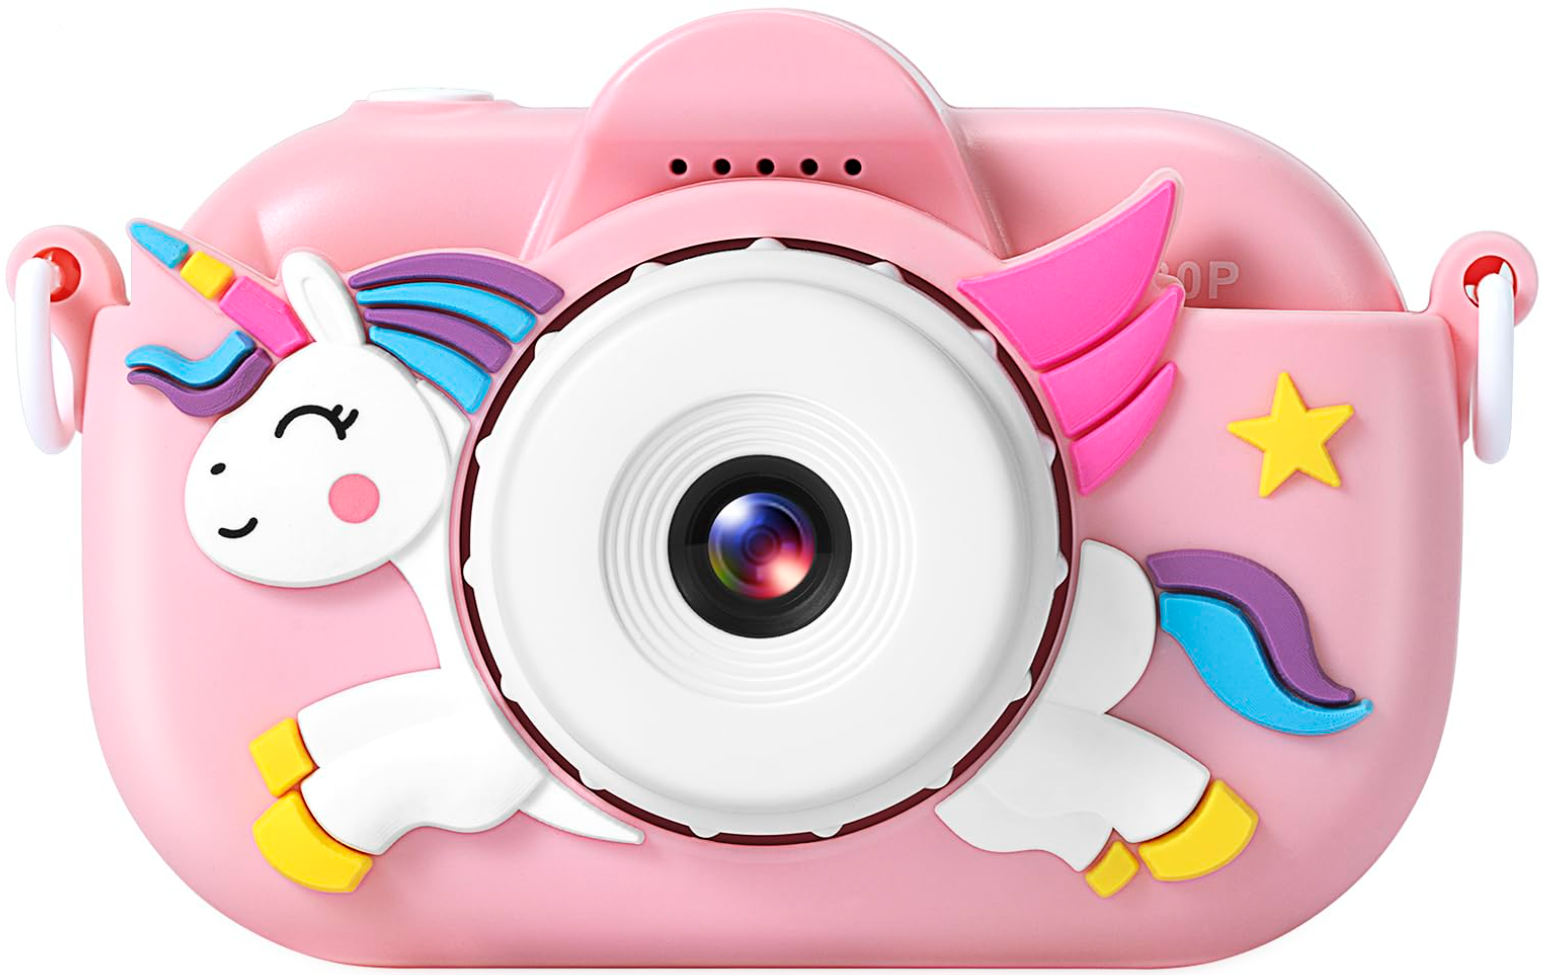
Description


Before Use
Charging
Use the Micro-USS cord to charge the camera. The indicator light is red while
charging, and it goes off when it is fully charged(About 50 mins).
Notice:
a. Please long press the power button to turn it off so it could charge
faster.
b. When it is turned on and connected to the charger, you can see a
lightning icon on the battery bar, which means it is charging. And the camera
will be turned off if it is disconnected from the charger.
c. When it is turned off and connected to the charger, the camera will be
turned on.

TF card installation
Push the card into the TF card slot and you will hear a “click” sound when it
is correctly installed and the TF card will stay in the slot.
Notice:
a. The 32GB card has been installed in the camera. Please check the
packaging box if it is not in the camera. If you can’t find it, please contact
us on Amazon.
b. When inserting the card, the side with metal bars should be in the
same direction as the screen. If it does not stay in the slot, please push it
deeper until you hear the “click” sound. The TF card icon on the screen will
change as well.

Start to Use
-
Turn on/off
Long press the power button to turn it on or off. -
Modes switch
The camera has 3 modes: PhotoNideo/Playback, and you can push the power button to switch. -
Lens Switch
This camera has a front lens. Push the Right button and you can switch it to the front lens for taking selfies. Push the right button again and you can change it back. -
Take photos (Delay/Selfie/Sticker)
The default mode is photo mode. Push the shutter button to take a photo.
Notice:
a. When it is in photo mode, you can push the Left button to turn on the delay function. When this function is opened, you can see a clock icon on the screen. Then push the setting button you can change it to 2/5/1 Os(The number in the clock icon is the delay time). And push the Left button again and you can turn it off.
b. Push the Right button you can switch it to the front lens for taking selfies.
c. Push the Down button you can open the sticker feature. -
Record Videos
The default mode is photo mode. Push the power button to switch it to video mode. Then push the shutter button to start recording and push it again to finish. -
Playback
The default mode is photo mode. Push the power button to switch it to playback mode. Then use the Up/Down button to view the photos or videos. -
Delete Photo/video
In playback mode, and choose the photo or video you want to delete. Then push the setting button and use the Up/Down button to “Confirm/Cancel”, then push the shutter button to con firm.
Notice:
It does not have the “delete all” option, and if you want to delete all photos and videos in the TF card, please use the “Format” option in the settings.
Camera Settings
-
Language
The first setting on the setting menu is Language. If it was accidentally set up to a language you don’t recognize, you can push the setting button to enter the setting menu and push the shutter button to change the language back. -
Image/video Resolution
Choose the lmageNideo resolution, and push the shutter button to confirm. Then use the UP/DOWN button to choose and push the shutter button to confirm again. -
Time Setting
Push the shutter button to enter the Date and Time set-up page. Use the Left/Right button to choose the Year/Month /Day/Hour/Minute/Second to set. Then use the Up button to increase and the Down button to reduce. Then choose OK and push the shutter button to confirm.
Notice:
The date can be displayed in different formats.
DD/MM/YY or MM/DD/YY or YY/MM/DD.
Use the Left/Right button to choose the format setting, and use the Up/Down button to switch.
YY=Year MM=Month DD=Day -
Sound
Push the shutter button to choose: OFF/Low/Loud
Notice:
If you turn off this feature, the beep sound of manipulating buttons will disappear. The sound effect of taking photos will disappear as well. -
Date Stamp
Push the shutter button to choose to turn it on/off
Notice:
If you turn off this feature, there is no time stamp on the photos and videos you shoot -
Frequency
Depending on your location the frequency is affected due to the power network. For North and South America, it is 60 Hz, and in Europe, Africa, and Asia it will be 50 Hz. You can experience camera flicker due to the frequency between the camera and the light source is out of sync. -
Auto-Power off
Push the shutter button to choose the options: OFF/1 mins 13 mins /5 mins. Use the Up/Down button to choose and push the shutter button to confirm your choice.
Notice:
If you turn on this feature, the camera will auto-power off when not in use. -
Format
The camera uses the FAT32 fi le system. Please use the card enclosed with the product If you use a card that is not the FAT32 file system, the camera will ask you to format the card after installing the card.
Notice:
a. The 32GB TF card has already been installed in the camera.
b. If the TF card you used is not the FAT32 file system, and it still can’t work after formatting it on the camera. It could be the card can’t be formatted to the FAT32 system on the camera and you need to format it on your computer. Or you could use a different TF card.
c. Format the card will erase all files in the card, please save the files if it is needed. -
Default Setting
Use this setting, you can recover this camera to the default setting. -
File Transmission
a. Use the Micro USB cord to connect it to the computer
b. A Disk drive icon shows on the camera screen means it is successfully connected.
c. Find this USB drive on your computer and you can see the photos and videos you take
d. Copy it to your computer or other memory devices
Notice:
Some cords may not support file transmission, please use the cord enclosed with this product. -
Reset
If the camera froze, you could use a pin to insert the reset hole to reset the camera. The reset hole is beside the TF card slot.
Troubleshooting
-
Issues with the Memory card
a. Says No card after installing the card
—Check if the card is correctly installed. See the instruction on Page 2 & 3
b. Keep asking to format the card
—The file system of the card should be FAT32. If it can’t format it to the FAT32 file system, it does not work with the card. -
The camera froze
- Please find the reset hole beside the TF card slot, use a pin to insert the hole and the camera will be turned off. Then you can restart the camera and use it.
Be Careful
- This product is not waterproof, please keep the camera away from water and wet environment.
- Built-in 600mAh battery, do not replace the battery by yourself.
- This product can only be charged with the (SV/1 A) adapter, and keep your kids away from it.
- The adapter used to charge this product (not included in the package) cannot be used as a toy, and should be used according to the charging specifi cation of SV/1 A.
- The camera can not be cleaned with liquid directly. Disconnect the toy from the charger before cleaning.
- Regularly check if the camera/cords and other accessories are damaged, and stop using them if they could cause dangerous problems.
Warning
- Contains small parts, not suitable for children under 3 years old!
- Keep it away from the fire source when using it!
- This product needs to be used under direct adult supervision!

Read User Manual Online (PDF format)
Read User Manual Online (PDF format) >>