akiara SILAI Machine with Thread Set User Manual
- June 12, 2024
- akiara
Table of Contents
akiara SILAI Machine with Thread Set User Manual

KNOW YOUR SILAI MACHINE

GETTING STARTED
(Refer to lllustrations for locations and configuration of components)
Step: 1
Make confirmation of On/Off switch is in Off position before inserting
batteries.

Step: 2
Install 4 x AA batteries into the battery compartment on underside of
machine as shown in the image.

Step: 3
Push switch to turn it ON or OFF. In “ON” position switch is flush with
machine. In “OFF” position switch is extended out. Machine will start sewing
immediately. Be sure the machine is properly threaded and fabric is positioned
for sewing before you turn on machine.
HOW TO INSTALL FOOT PEDAL
Image 1

Image 2

Image 3

Image 4

MAIN UNIT THREADING

Spring bobbin holder placing
-
Pass the bobbin holder lock through bobbin hole

-
Put the spring on the remaining Exposed part of the bobbin holder fock As shown in the image.

-
Insert upper bobbin in such a way that it moves in anti-clockwise direction.

-
Fit the bobbin spring holder lock in bobbin holder as shown in the image:

-
Now, pass the thread through first thread guide as shown in the image:
-
Pass the thread through 2nd thread guide. Pass the thread through tension adjusting screw & must be positioned between two washers behind the tension adjusting screw as shown in the image

-
Pass the thread through 3rd Thread Guide on the take up lever, inserting direction towards front of the machine as shown in the image:

-
Pull thread down through 4th thread guide & insert thread from top to downward direction as per image

-
Pull down the thread through thread guide & lower the needle to reach 5th thread guide by turning the hand wheel slowly counter clockwise in the direction towards you) to lower the needle as per image:

-
Insert thread through eye of the needle from left to right (if necessary use needle threader from right to left) as shown in the image:

-
Pull down about 10inches of thread through the needle as shown in the image:

BOTTOM BOBBIN PLACEMENT
-
Remove bottom bobbin cover by lifting up where it has popped up at rear as shown in the images:

-
Place the bobbin with thread of your choice in the bobbin holder in clockwise direction leaving about 10 inches of thread extended out from the bobbin holder through the gap as per the image:

-
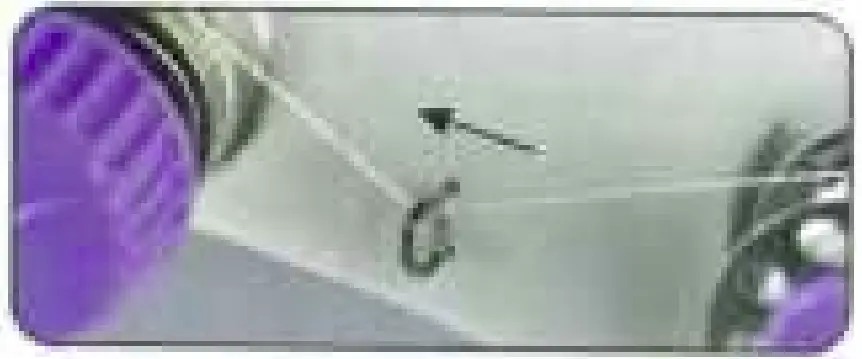
Turn hand wheel towards your side. Turn hand wheel until the needle comes down completely. Pull it gently up and you will see it has caught bobbin thread. Pull the two threads toward the rear (away from you) an lay them under the pressure foot as shown in the pair of Images:


-
Now, your mini Silai Machine is ready for sewing

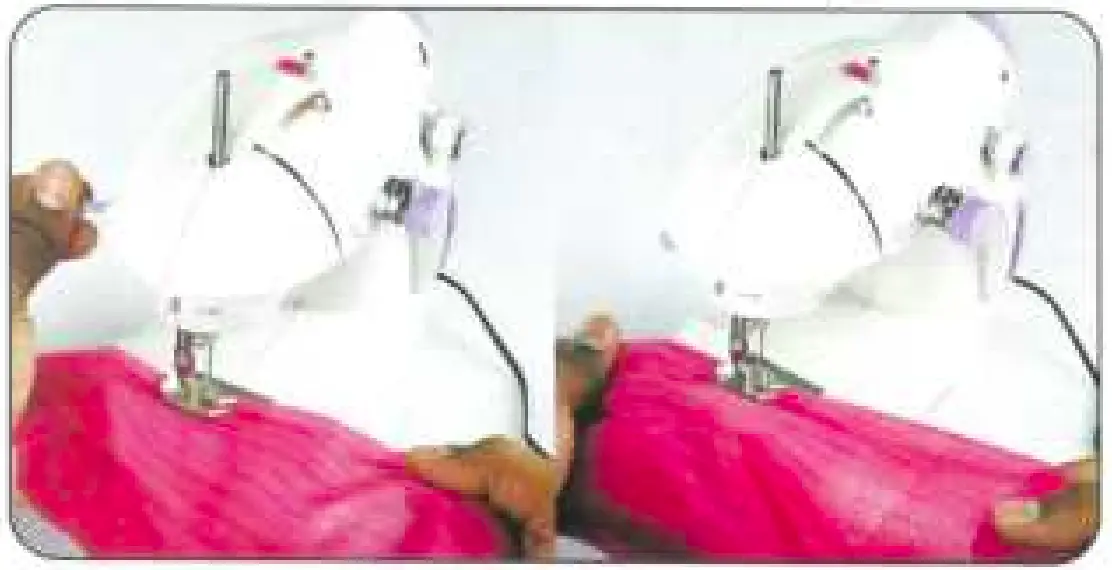
Stitching Instructions
Place the cloth under presser foot under the needle at a place where you want
to sew
Safety Instructions
- Always disconnect or remove power supply including batteries when changing needles or threading machines
- Never open the main motor case of the machine. The mechanism has been factory adjusted
- Always check the threading of the lock stitch before beginning to sews seam Improper threading or placement of the bobbin in the case will result in damage to the machine
- Do not pull on fabric as you sew. Gently guide only. Pulling could break the need and result in damage to the machine Remove batteries when the machine is not in use for long periods. This saves battery life and protects the machine.
- Keep extra batteries on hand so your work will be not interrupted when batteries need to be replaced.
- KEEP AWAY FROM CHILDREN: This sewing machine is not a toy and not meant to be used by or near children
- The sewing machine is an electrical appliance when used with adapter. Do not submerge the unit or any other parts in water.
- Do not operate the sewing machine with wet hands, without shoes, or while standing in water or on a wet surface when using the adapter Do not change needles or thread machine while unit is on.
- Do not touch needles before you turn off the power if the supply card is damaged, it must be replaced by the manufacturer service agent or similar qualified persons in order to avoid a hazard.
- Keep the power cord away from heated surfaces. Do not close door on cord or pull around sharp edges, this could cause the cord to become punctured or damaged and could result in injury
- Do not unplug by pulling or hugging on the cord. Grasp the plug with dry hands to remove the plug from the Switch board. Danet sew clothing while it’s on your body
- Use only the power adapter recommended by the manufacturer, any other adapter may cause injury or damage to the machine
- Never leave the sewing machine unattended while plugged in. Switch it off and unplug the cord when not in use.
THANK YOU
Documents / Resources
|
akiara SILAI Machine with Thread
Set
[pdf] User Manual
C14b, wQzR9S, SILAI Sewing Machine with Thread Set, Sewing Machine with Thread
Set, Thread Set
---|---
Read User Manual Online (PDF format)
Read User Manual Online (PDF format) >>